> For the complete documentation index, see [llms.txt](https://blogs.cracksoft.in/llms.txt). Markdown versions of documentation pages are available by appending `.md` to page URLs; this page is available as [Markdown](https://blogs.cracksoft.in/problems/how-to-install-virtualbox-on-kali-linux-without-error.md).
# How to Install VirtualBox on Kali Linux Without Error
### What is VirtualBox?
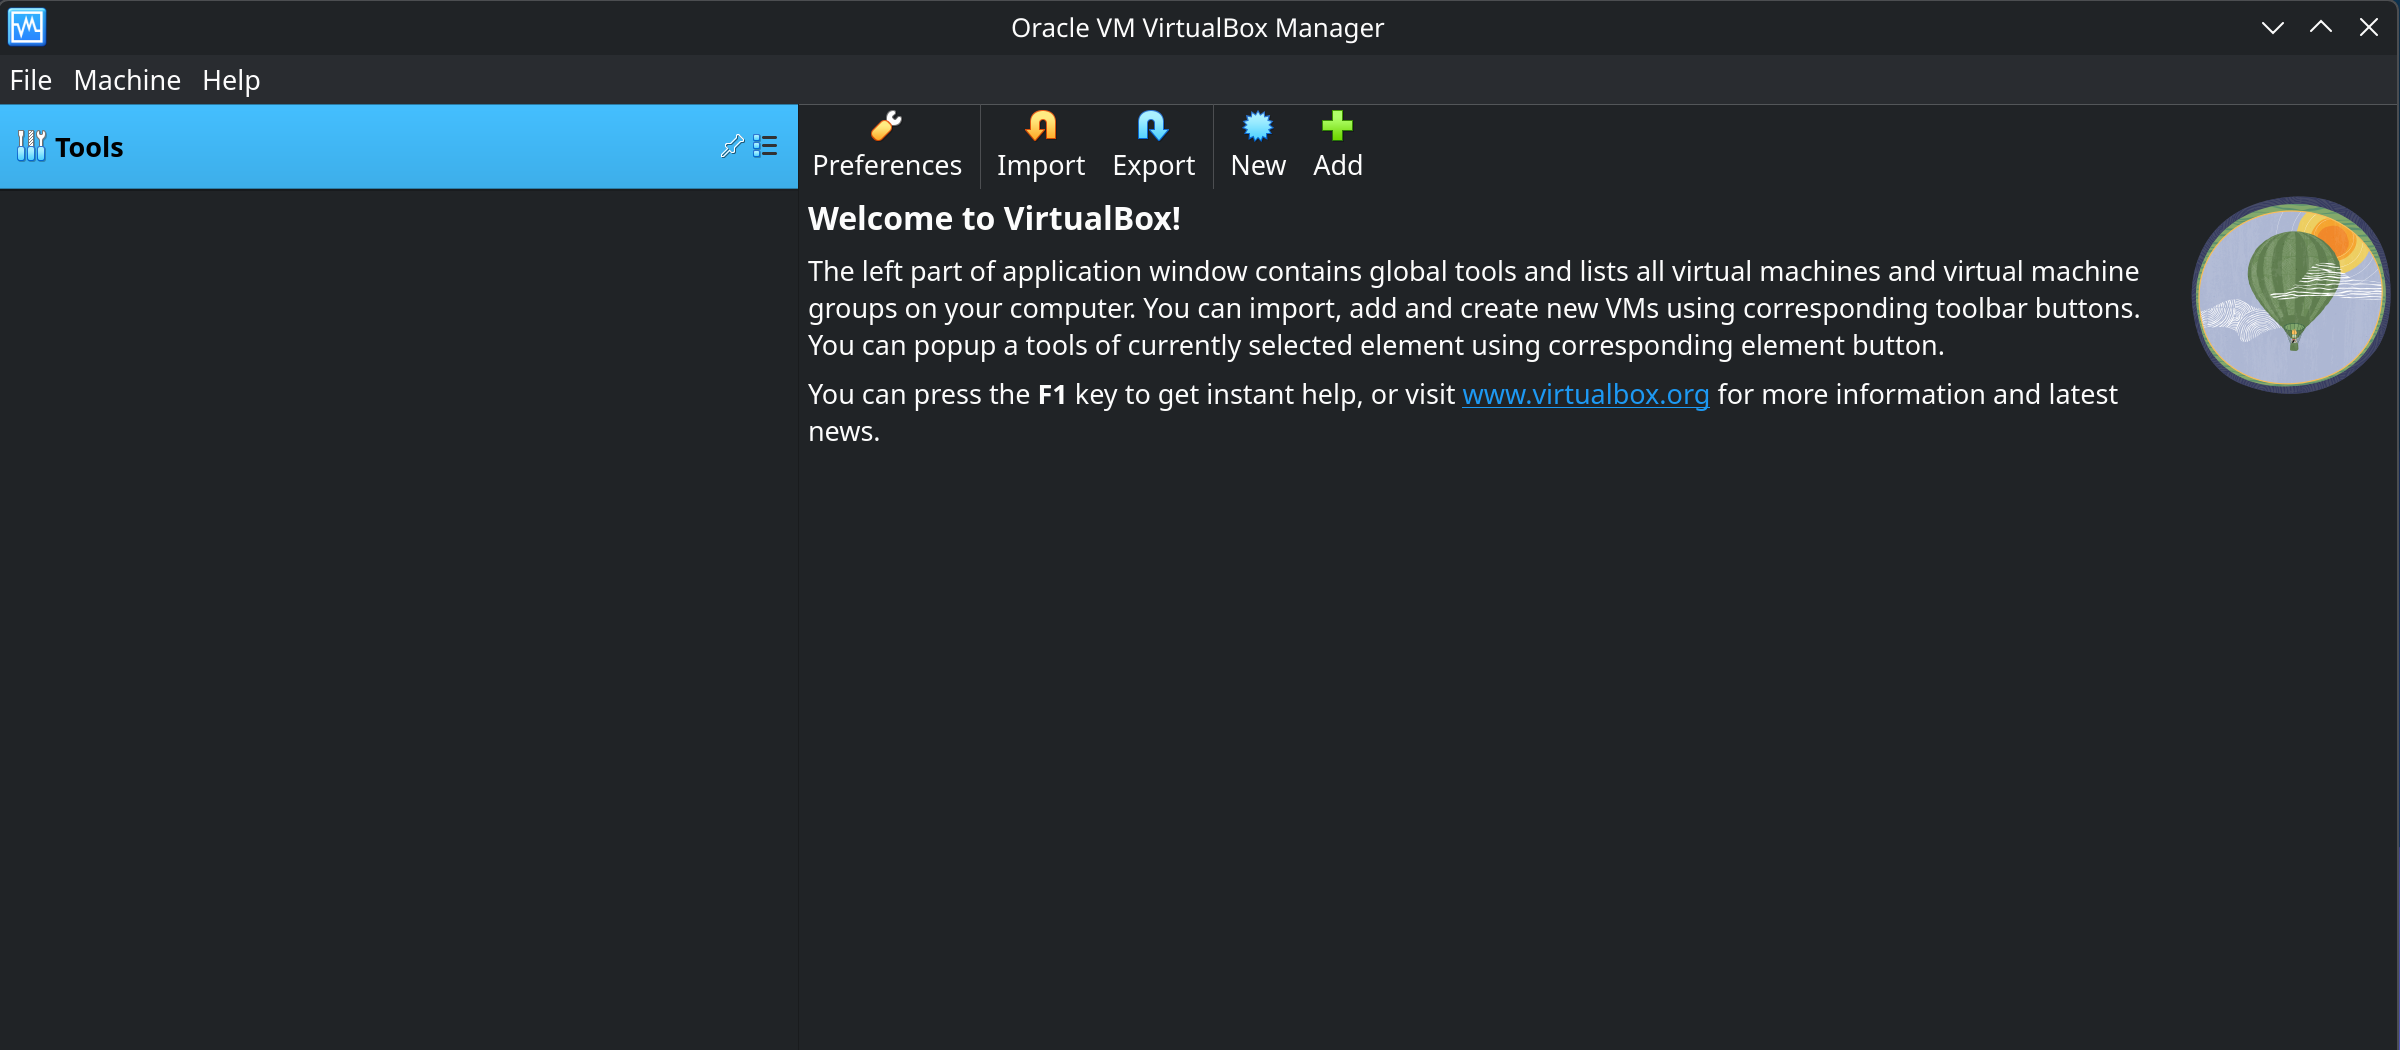
**VirtualBox** is a free and open-source virtualization tool from Oracle that allows you to **run other operating systems (called "guests") inside your current OS (called the "host")**.
Imagine running Windows, macOS, or another Linux distro inside a window on Kali — that’s what VirtualBox does.
It’s especially useful for:
* Running vulnerable VMs for pentesting (e.g., Metasploitable, DVWA)
* Testing malware in isolated environments
* Learning new OSes without dual-booting
### How VirtualBox Works
VirtualBox uses **hardware virtualization (VT-x/AMD-V)** to simulate a full PC. When you create a VM, it allocates:
* Virtual CPU
* Virtual RAM
* Virtual hard disk
* Virtual network adapter, USB controller, etc.
It uses your real system's hardware but keeps the guest OS completely isolated.
**Key parts:**
* **VirtualBox GUI** – Where you create and manage VMs
* **VBoxManage CLI** – Command-line control
* **Guest Additions** – Installed in guest OS for better performance
* **Extension Pack** – Adds USB 2.0/3.0, RDP, and more
Let's get back into our topic.
### **Step 1: Update Your System**
```
sudo apt update && sudo apt upgrade -y
```
### **Why to Update and Upgrade ?**
VirtualBox relies on several system components like kernel modules, Linux headers, and sometimes DKMS (Dynamic Kernel Module Support) to function properly. These components are tightly coupled with the current version of your system's kernel. If your system is out of date, VirtualBox may fail to compile its necessary modules during installation, which can lead to startup errors or missing functionality like networking or USB support. Additionally, outdated systems often run into unresolved dependencies or version mismatches that can break the installation process. In some cases, you might even end up installing an older version of VirtualBox from outdated repositories, which could lack important features or security fixes. Keeping your system updated ensures compatibility and a smoother, error-free installation experience.
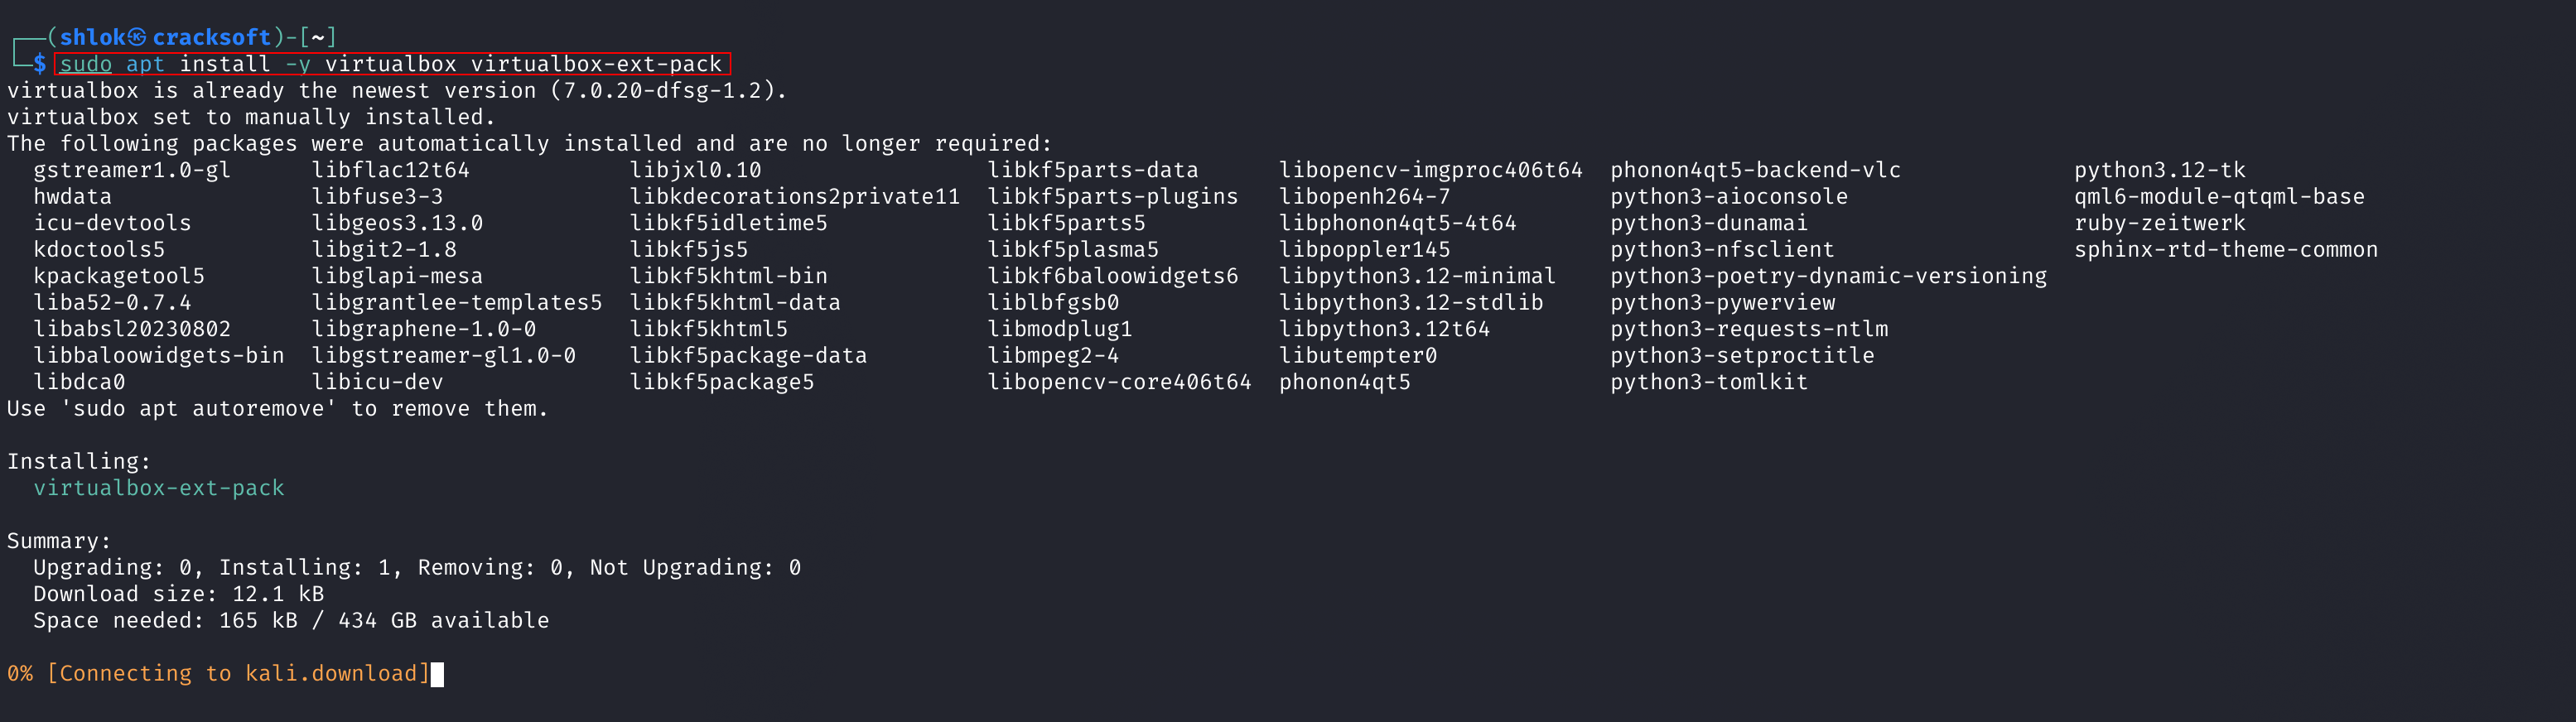
### **Step 2: Install VirtualBox and Extension Pack**
```
sudo apt install -y virtualbox virtualbox-ext-pack
```
### **Why to Install VirtualBox Extensions ?**
Installing the VirtualBox Extension Pack is an important step if you want access to the full range of VirtualBox’s capabilities. While the base installation of VirtualBox allows you to create and run virtual machines, it lacks several advanced features such as USB 2.0 and 3.0 support, VirtualBox Remote Desktop Protocol (VRDP), disk image encryption, and NVMe device emulation. These features are provided by the Extension Pack, which is maintained by Oracle to extend the core functionality of VirtualBox. By using the command `sudo apt install -y virtualbox virtualbox-ext-pack`, you ensure that both VirtualBox and its Extension Pack are installed together, and more importantly, that they are compatible with each other since they come from the same repository. Without the Extension Pack, certain features will simply not work, especially those that involve external device integration or remote VM access. Installing it guarantees a more complete and seamless virtualization experience.
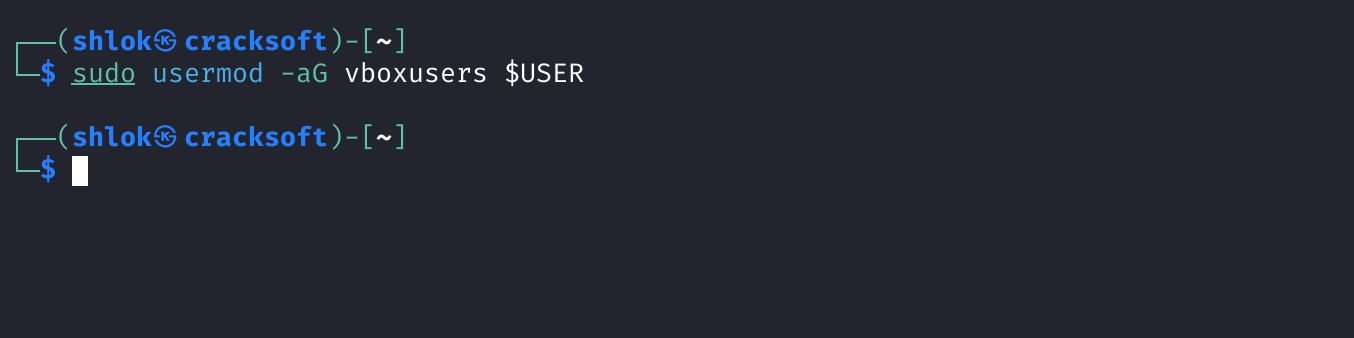
### **Step 3: Add Your User to the `vboxusers` Group**
```
sudo usermod -aG vboxusers $USER
```
### **Why to add User to the `vboxusers` Group ?**
When you install VirtualBox, it creates a special group called `vboxusers`. This group controls access to certain VirtualBox features that interact directly with system hardware especially **USB devices**, **shared folders**, and sometimes **network bridges**.
By default, your Linux user account doesn’t belong to this group. So if you try to use features like USB passthrough or shared folders **without adding yourself to `vboxusers`**, they simply won’t work — or worse, VirtualBox might ask you to run it as root, which is **insecure and not recommended**.
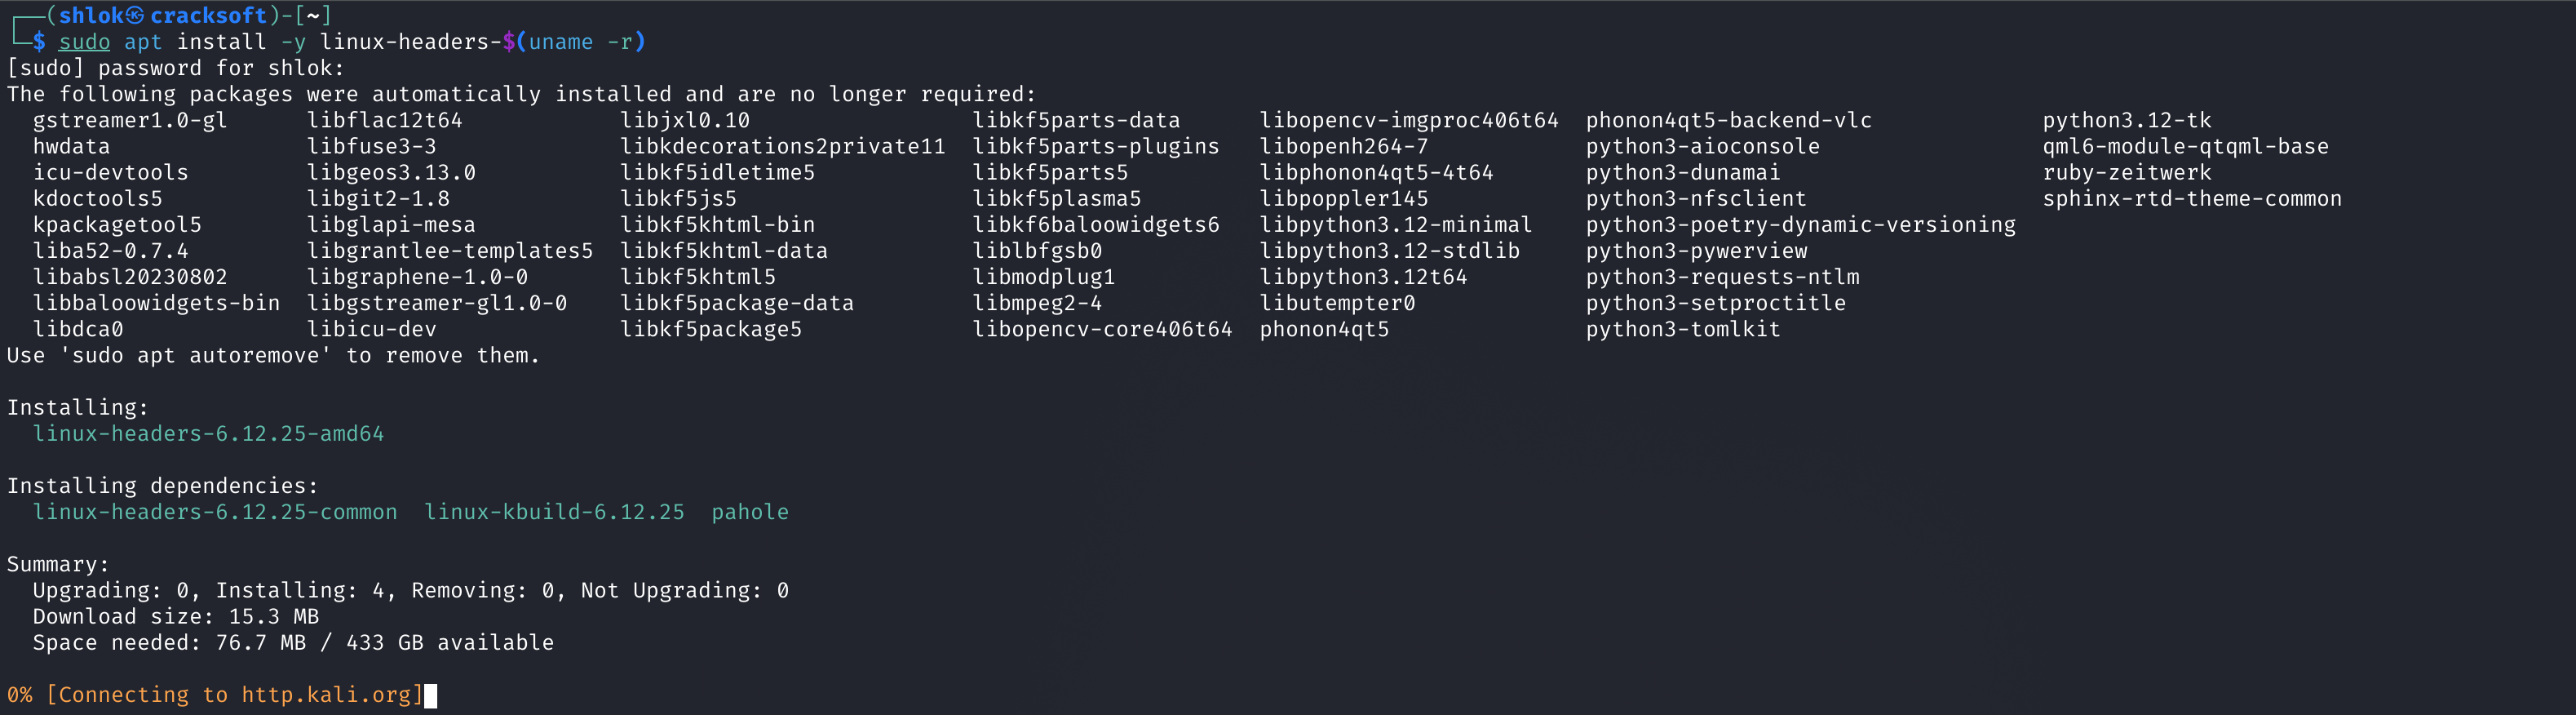
### **Step 4: Install Kernel Headers**
```
sudo apt install -y linux-headers-$(uname -r)
```
Installing kernel headers is an important step when setting up software like VirtualBox on Kali Linux because these headers provide the necessary files that define the interface between the Linux kernel and any modules that need to be built or compiled against it. VirtualBox relies on kernel modules such as `vboxdrv` and `vboxnetflt` to function properly, especially for tasks like managing virtual machines, networking, and USB passthrough. If the appropriate kernel headers are not installed, VirtualBox won’t be able to compile these modules, which can lead to errors during installation or runtime—most commonly, errors like “vboxdrv: Kernel driver not installed.” By running the command `sudo apt install -y linux-headers-$(uname -r)`, you ensure that the headers installed exactly match your currently running kernel version. This compatibility is critical because even a slight version mismatch can cause module compilation to fail. In short, installing kernel headers ensures that VirtualBox can integrate properly with the system and function as expected.
**AND, our Virtual Box is Successfully installed ;)**
**Thanks for Reading! I Hope you loved it!**\
**don't forget to share in your friends circle :)**
---
# Agent Instructions
This documentation is published with GitBook. GitBook is the documentation platform designed so that both humans and AI agents can read, navigate, and reason over technical content effectively. Learn more at gitbook.com.
## Querying This Documentation
If you need additional information that is not directly available in this page, you can query the documentation dynamically by asking a question.
Perform an HTTP GET request on the current page URL with the `ask` query parameter, and the optional `goal` query parameter:
```
GET https://blogs.cracksoft.in/problems/how-to-install-virtualbox-on-kali-linux-without-error.md?ask=&goal=
```
`ask` is the immediate question: it should be specific, self-contained, and written in natural language.
`goal` is optional and describes the broader end goal you are ultimately trying to accomplish on behalf of the user. GitBook uses it to tailor the answer towards what is most useful for that goal.
The response will contain a direct answer to the question and relevant excerpts and sources from the documentation.
Use this mechanism when the answer is not explicitly present in the current page, you need clarification or additional context, or you want to retrieve related documentation sections.